Try out RDK Broadband
Download pre-compiled image
Click on Broadband Stable Image – Kirkstone to download the pre compiled kirkstone image.
Flash the image to an SD card
This section outlines two methods for flashing: Flashing using bmaptool (flashing steps in a Linux environment) and using balenaEtcher App (flashing in Windows).
Flashing using bmaptool
bzip2 -d <path to ImageName.wic.bz2>
sudo -E bmaptool copy --nobmap <path to ImageName.wic> <path to SD card space>
Example:
$ bzip2 -d rdk-generic-broadband-image-raspberrypi-rdk-broadband.wic.bz2
$ sudo -E bmaptool copy --nobmap rdk-generic-broadband-image-raspberrypi-rdk-broadband.wic /dev/sdb
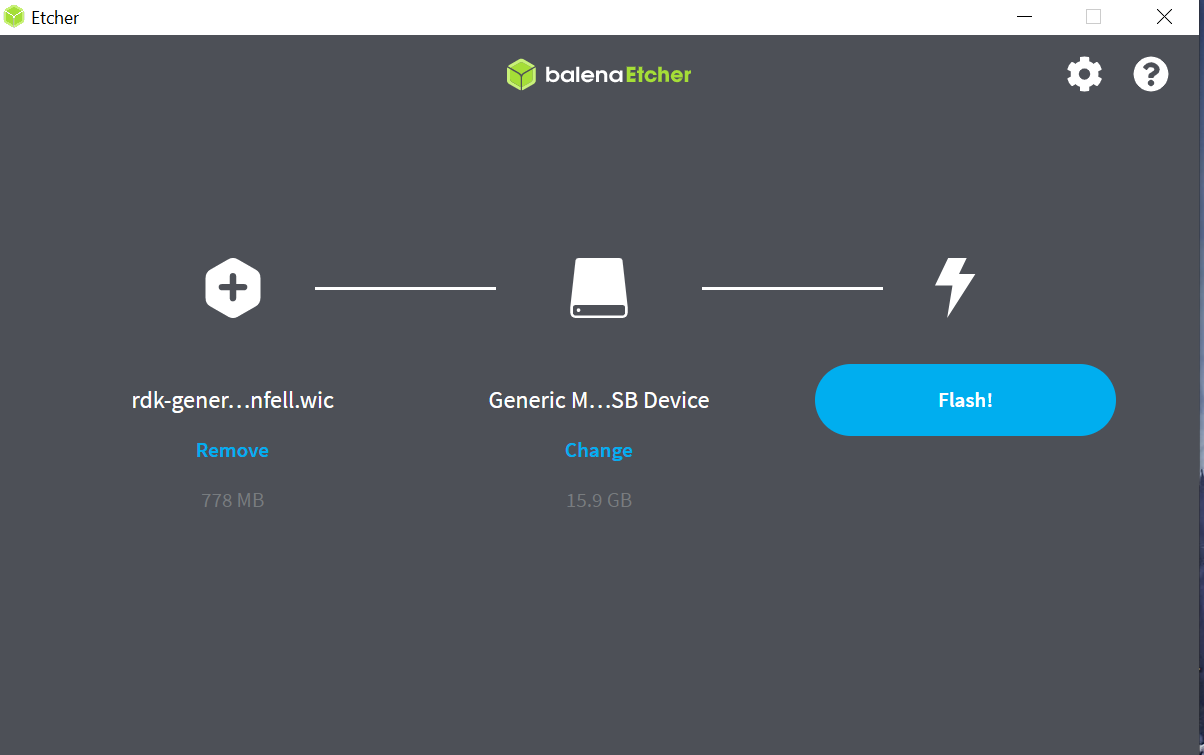
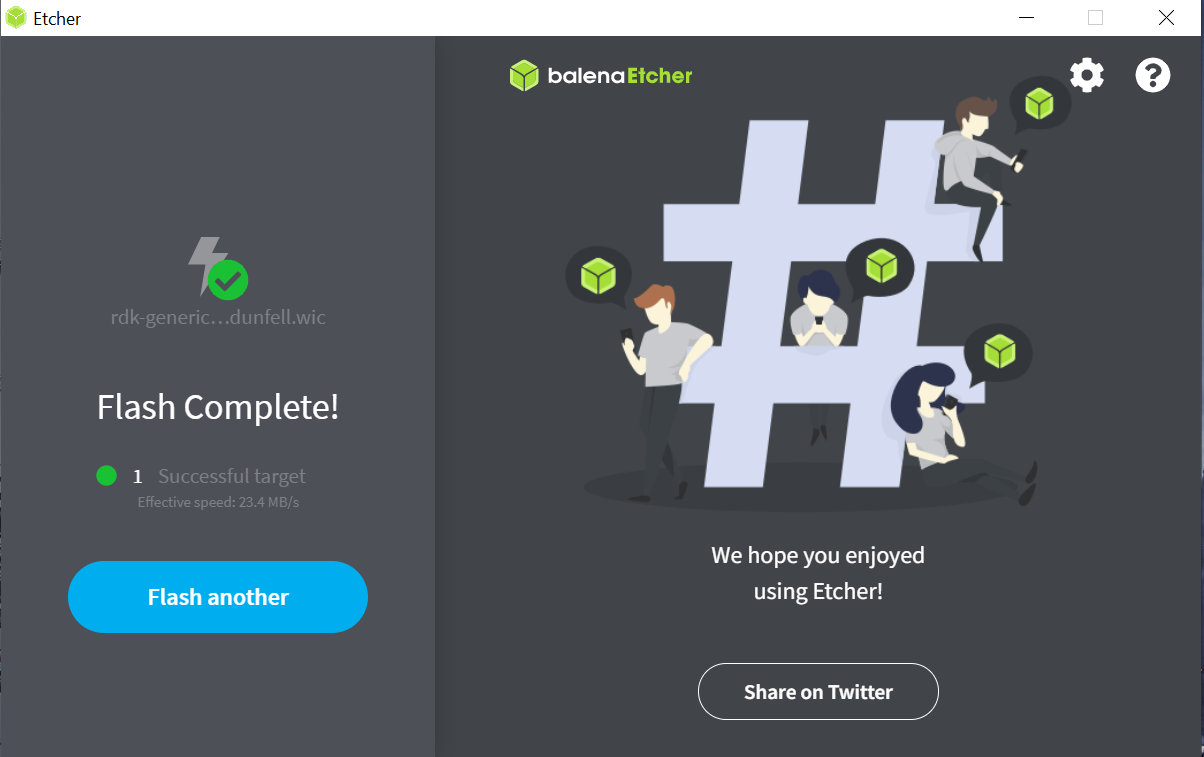
Flashing using BalenaEtcher
To flash the image on an SD card in Windows, you will need to download the BalenaEtcher application: https://www.balena.io/etcher/.
*Note: Prefer to use a 32GB SD card, and there should be a minimum of 12GB of free space available in the device. Be sure to remove all other portable flash drives/hard drives/SD cards from your computer before flashing the RDK image.
- Open the application.
- Select the image from your download folder.
- Select the drive containing your SD card.
- Click “Flash” to copy the image onto the SD card.
Bring Up the device
System Setup

- Connect TV/Monitor to HDMI Video Output.
- Connect the Ethernet cable to the LAN port.
- For the Raspberry Pi device to be issued an IP address during boot-up, the other end of the Ethernet cable needs to be connected to the network where the DHCP server is operating.
- Connectivity to the Internet is required so that the client connected can access the Internet via RDK-B gateway.
-
Connect the USB-Ethernet adapter to one of the USB slots present in Raspberry Pi.
-
Connect the Ethernet cable from the USB-Ethernet adapter to the client device/machine.
- Insert the SD card into the Micro SD Card Slot.
- Connect the Power cable to the Micro USB power Input.
Once the RPI boots up, login prompts will be displayed on the TV
- Type “root” when the login prompt is displayed
- Run the following in the terminal
- # ifconfig
- Check the interface shown for the USB-Ethernet adapter. e.g eth1, eth2 … so on
- In case you are running in Ethernet mode, add the interface of the USB-Ethernet adapter in file “/etc/utopia/system_defaults. Change lan_ethernet_physical_ifnames. It will be your LAN side.
- e.g:lan_ethernet_physical_ifnames=eth1
- Reboot the Raspberry Pi
WebUI can be accessed by both the LAN clients and from the WAN Side.
- For LAN/WAN Clients:
- Open an internet browser on the LAN client/machine.
- Give the following URL in the browser window:
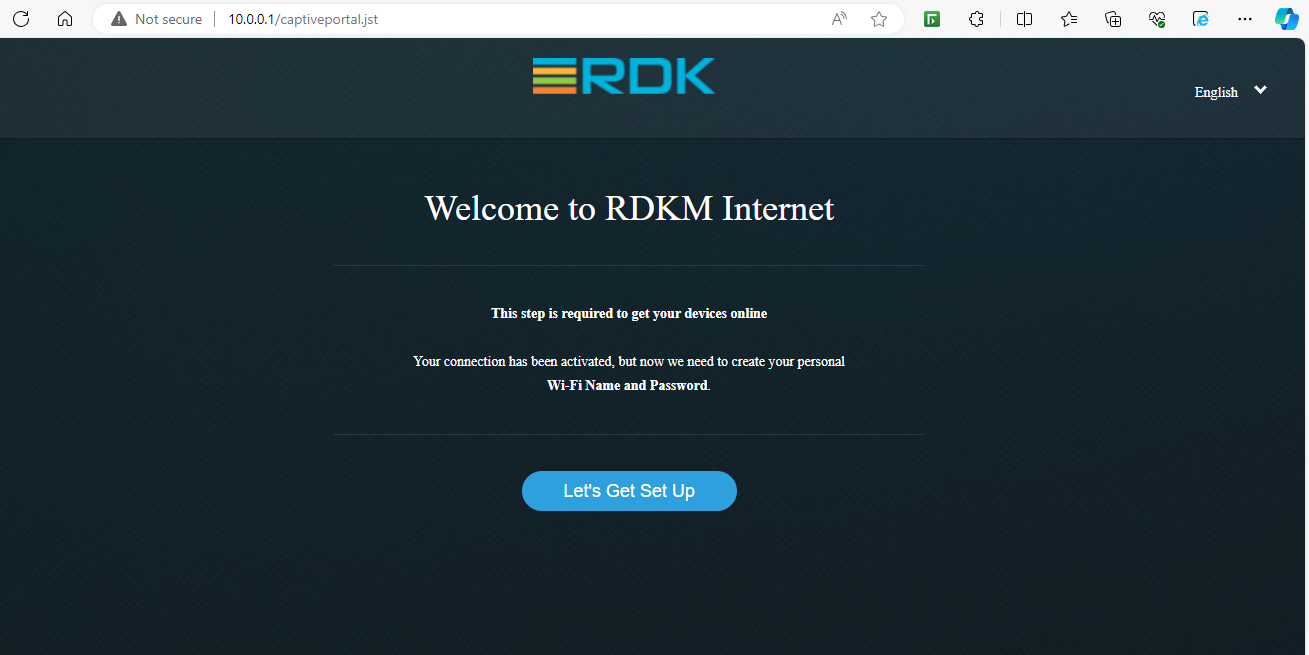
- From LAN Side:http://10.0.0.1–if we use LAN IP (10.0.0.1) then it opens a captive portal page
- From WAN Side:
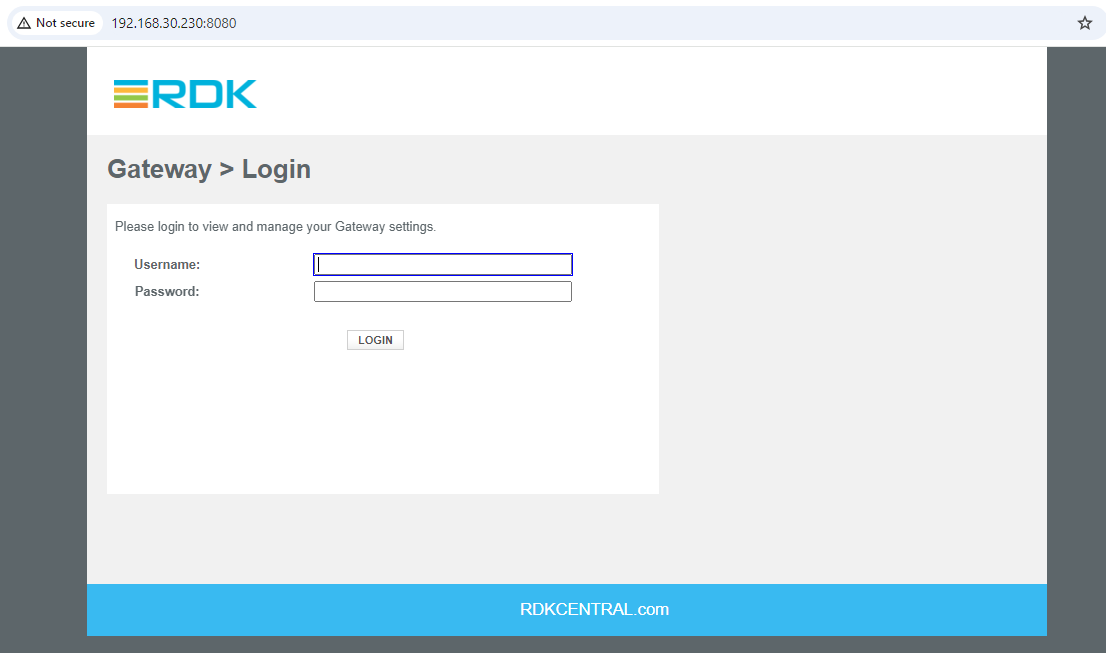
- http://<WAN IP Address of Raspberry Pi>:8080
- For e.g http://192.168.30.230:8080
- If you are accessing erouter IP from any wan network in the same range, it will redirect to the admin page.